
How to use the piano pedals: a beginner's guide
The right pedal sustains the sound; the trick is to change it just after you play the new chord. We explain the three pedals, how they're written and the most common mistakes.
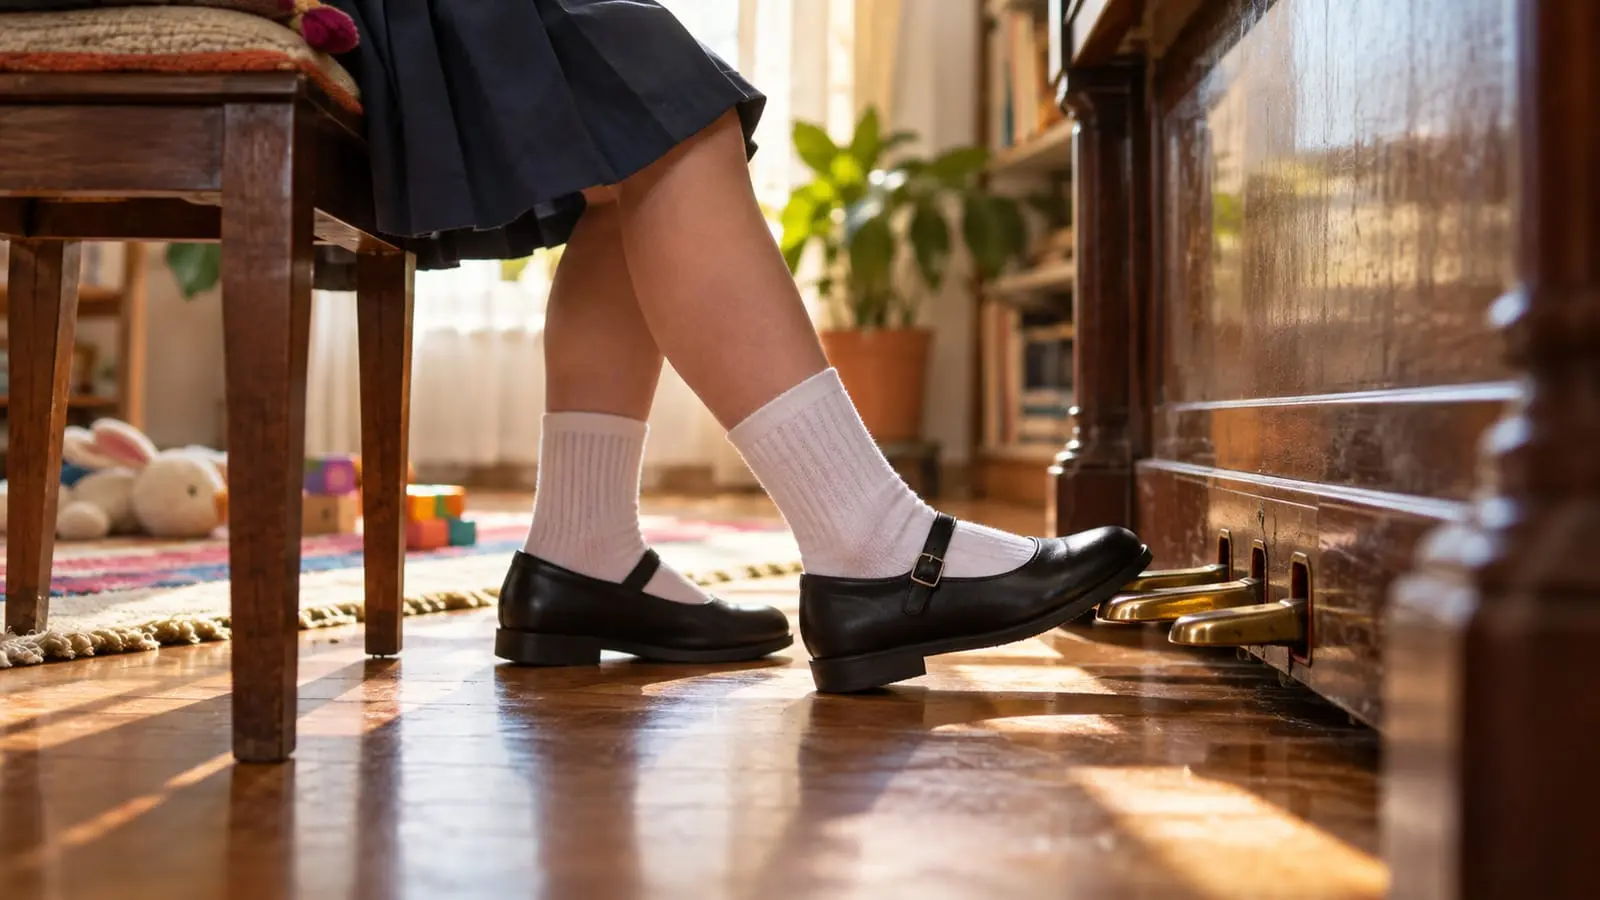
The piano's most important pedal is the one on the right, the damper or sustain pedal: pressing it lifts all the dampers, so notes keep sounding after you release the keys. The basic technique is syncopated pedaling: play the new chord, then immediately release and press the pedal again so the new sound is sustained without blending with the previous chord.
The left pedal, una corda, softens the sound and changes its color. The middle pedal depends on the piano: on a grand, it's the sostenuto pedal; on many uprights, it's a practice mute. Here's how to use them, how they're marked in sheet music, common mistakes, and what to consider on a digital piano.
In short
- The right pedal lifts all the dampers: notes keep sounding after you release the keys.
- In syncopated pedaling, the hands play first, then the foot lifts and presses again.
- Keep your heel on the floor and press the pedal with the front of your foot, without stamping on it.
- In sheet music, “Ped.” means press the pedal; an asterisk or the end of the pedal bracket means release it.
- Change the pedal when the harmony changes, and let your ears decide, not your foot.
The three pedals and what each does
| Pedal | Grand piano | Upright piano | Digital piano |
|---|---|---|---|
| Right: damper or sustain pedal | Lifts all the dampers; the strings vibrate freely and resonate with one another | Same as on a grand piano | Simulates the effect; many models support half-pedaling |
| Left: una corda | Shifts the action so the hammers strike fewer strings with a different area of felt: a softer, more muted tone | Moves the hammers closer to the strings: softer sound with little change in tone color | Simulates a softer sound |
| Central | Sostenuto: sustains only the notes whose keys were held down when the pedal was pressed | Usually a practice mute: fabric between the hammers and strings greatly reduces the volume | Depends on the model: sostenuto or another function |
The right pedal is sometimes called the “loud pedal,” but that name is misleading: it doesn't turn up the volume; it lets the strings and their resonance continue sounding. That's why a piece with plenty of pedal can sound bigger, and also muddier if the pedal is used poorly.
Pressing the pedal: foot position and first steps
- Heel on the floor, roughly aligned with the pedal. Your heel is the pivot point; it never hangs in the air.
- Front of the foot on the pedal, a few centimeters from the end. This lets you control pedal depth with a small ankle movement.
- Constant contact. When releasing, your foot rises with the pedal without losing contact. If you lift it off, the pedal makes noise when your foot returns, and you lose precision.
- Find the point where it engages. The pedal has a little free travel before the dampers begin to lift. Learn where that point is so you don't waste time in that part of the motion.
- Left foot resting near the left pedal, ready if you need it.
Before playing, spend two minutes preparing: with a slow metronome, press on beat 1 and release on beat 3, without playing keys or making noise. Then play a low chord, press the pedal, release your hands, and listen to it sustain; release the pedal and listen to the sound stop. That listening is the foundation for everything else. We explain the rest of your posture, including the bench, in correct hand position at the piano.
Syncopated pedaling, step by step
If you release the pedal before playing the new chord, you leave a silent gap. If you release it much later, the two chords blend together. Syncopated pedaling solves this: the pedal changes just after the hands play, offset from them like an offbeat.
| Moment | Hands | Foot |
|---|---|---|
| Beat 1 | Play and hold the new chord | Lifts at the same instant: clears the previous chord |
| Immediately afterward (“and”) | Keep holding the chord | Presses down again and catches the new chord |
| Rest of the measure | Can release or play other notes from the same chord | Stays down until the next change |
Two exercises to make it automatic
- One-finger scale. Play C-D-E-F-G using only finger 3, one note per beat, and connect the notes only with the pedal, changing it on every note. A gap means your foot lifted too early; overlapping notes mean it pressed too late or did not lift fully.
- C – F – G – C progression. Play the root with your left hand and the chord with your right, using whole notes. Change the pedal on every chord, saying out loud, “play… foot up-down.”
There is also direct pedaling, where the pedal goes down with the hands to add resonance to an isolated chord or accent, and anticipatory pedaling, where you press before playing so the first note already has resonance. You'll encounter these later; syncopated pedaling is what you'll use most of the time.
How pedaling is marked in sheet music
| Marking | What it means |
|---|---|
| Ped. | Press the right pedal |
| Asterisk (✱) | Release the right pedal |
| Horizontal line below the staff | Hold the pedal down for the length of the line; release at its end |
| Peak or notch in the line (∧) | Release and immediately press again: a pedal change |
| con Ped. / senza Ped. | With pedal, at your discretion / without pedal |
| simile | Continue pedaling as in the previous measures |
| una corda (u.c.) / tre corde (t.c.) | Press the left pedal / release it |
| Sost. Ped. | Middle pedal (sostenuto) |
| ½ Ped. | Half-pedaling |
The absence of markings doesn't always mean “no pedal.” In many Romantic works, the composer left it to the performer. You'll rarely see pedal markings in Bach because the keyboard instruments for which he wrote most of his music had no damper pedal; many teachers ask you to use little or no pedal in those works, at least at first.
Half-pedaling, una corda, and sostenuto: when to use them
- Half-pedaling: press the pedal partway so the dampers touch the strings without stopping them completely. It clears some of the sound while letting some resonance remain. It's used in Romantic and Impressionist repertoire and requires careful listening.
- Una corda: it's not a volume button. It changes the tone color in soft, mysterious passages. A common mistake is using it to avoid controlling a soft sound with your fingers; your teacher will first ask you to play softly without it.
- Sostenuto: lets you sustain, for example, a long low note while your hands play short notes above it without blending them together. It appears mainly in 20th- and 21st-century repertoire and in some arrangements.
Common pedaling mistakes
| Error | What it sounds like | Correction |
|---|---|---|
| Foot and hands moving together at every change | Gaps or breaks between chords | Syncopated pedaling: hands first, then foot |
| Holding the pedal down for many measures | A blur of mixed harmonies | Change the pedal with every chord change |
| Using pedal to hide poor legato | It sounds connected, but the fingering isn't doing the work | Practice the piece without pedal until your fingers can connect the notes on their own |
| Stamping on the pedal or lifting your foot off it | A mechanical “clack” in the middle of the music | Constant contact and a small movement |
| Heel off the floor | Tired leg and imprecise changes | Keep your heel down; move only your ankle |
| Using the same pedaling on every piano and in every room | Too muddy in an echoing room, too dry in a room with little reverberation | Adjust pedal depth and changes to what you hear |
Pedaling on a digital piano or keyboard
- Switch-style pedal: the small square pedal supplied with many keyboards has just two states, pressed or released, and often slides across the floor. It works for learning syncopated pedaling, but not half-pedaling.
- Piano-style pedal: has the shape and travel of a real piano pedal, is more stable, and allows control of pedal depth if the instrument supports it.
- If it works backward (notes sustain when you release it), turn the instrument off, check that the pedal is connected, and turn it on without pressing the pedal. Some pedals have a polarity switch.
- Keep it in place: a nonslip mat or fixed base keeps the pedal from moving away as you play.
Another technical detail is polyphony: holding the pedal down builds up many notes, and basic instruments begin cutting off the earliest ones. We explain this in digital piano or keyboard. Pedaling often comes toward the end of the first year or in the second, as we discuss in how long it takes to learn piano. When you reach that point, a piano teacher can correct in one lesson what takes weeks to hear on your own.
Frequently asked questions
When do you start using the piano pedal?
When your hands can already play together with some ease, because your foot is a third “hand” to coordinate. In many cases, it comes toward the end of the first year, with the first pieces that call for it.
Which foot do you use for each pedal?
Use your right foot for the damper pedal and your left for una corda. The middle pedal is usually pressed with the right foot, although some pianists use the left when the right is busy with the damper pedal.
What does the asterisk below the notes mean?
It tells you to release the damper pedal, which you pressed at the “Ped.” marking. Modern editions more often use a line with breaks, where the end of the line or each notch indicates when to release.
Can I learn pedaling with a keyboard's small pedal?
Yes, for the basics: you learn syncopated pedaling the same way. What you can't practice is half-pedaling, and a small pedal slides easily. If you're already playing pieces that use pedal, a piano-style pedal is worthwhile.
Sources
We checked the facts in this article against these sources on October 22, 2026.