
Trumpet embouchure: how to start without straining your lips
A trumpet's sound starts at the lips. Here's how to form the embouchure, train your buzzing and build endurance without pressing the mouthpiece.
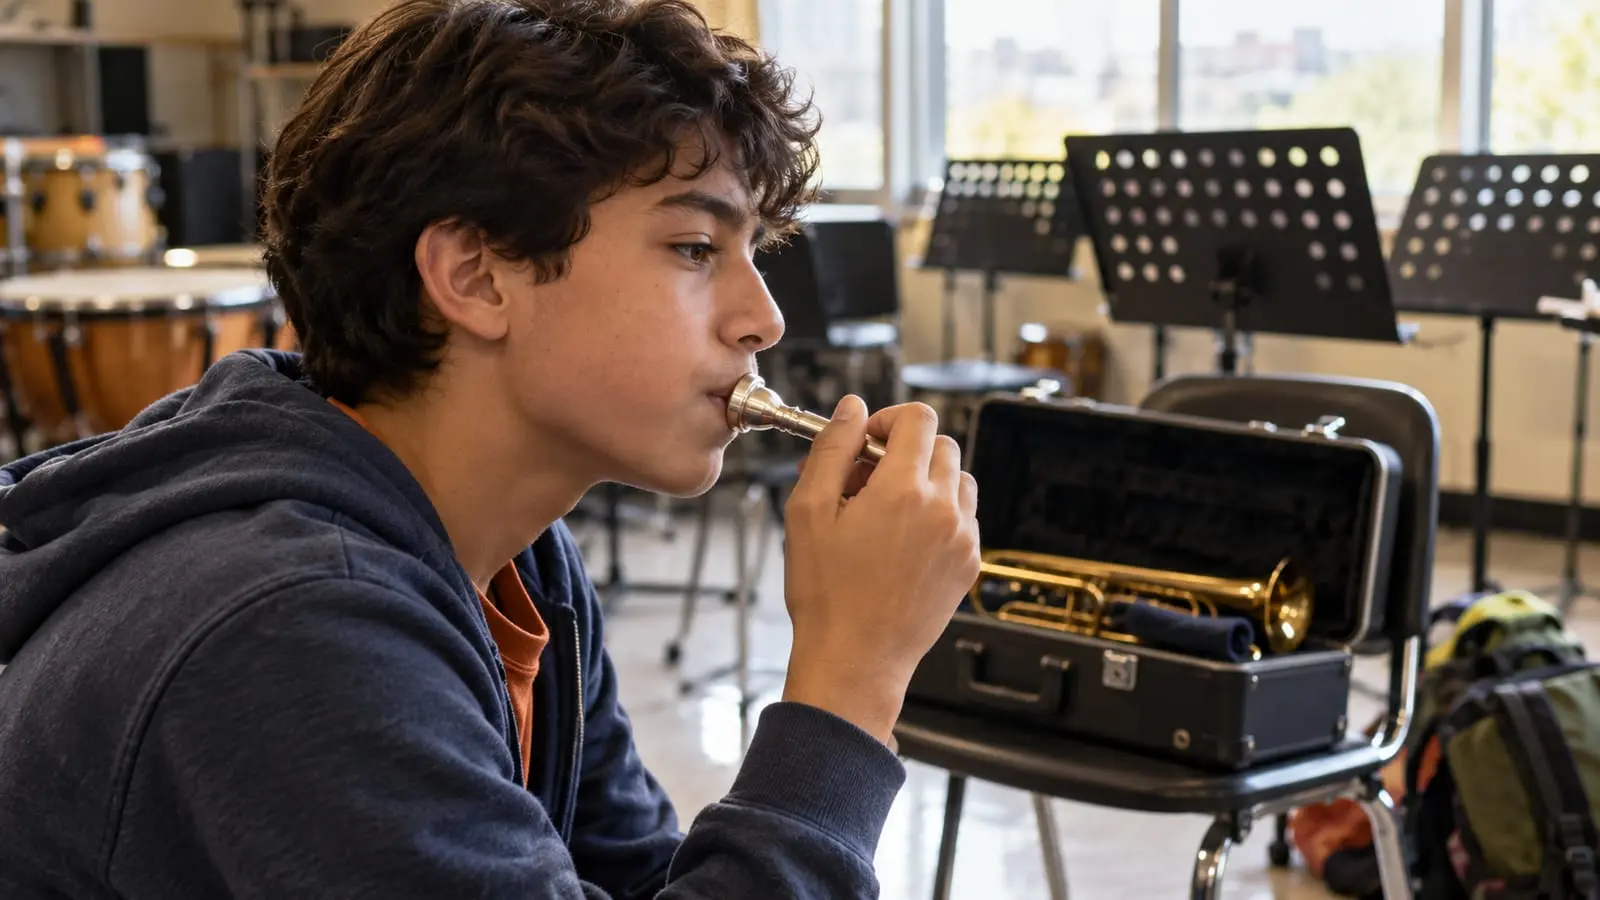
A trumpet embouchure has firm mouth corners, a relaxed center that can vibrate and a mouthpiece placed roughly in the center with as little pressure as possible. The sound comes from the lips vibrating, or buzzing, so the first step is learning to buzz without the trumpet, then on the mouthpiece alone and only then on the instrument.
The lips are small muscles that tire quickly. When starting out, the rule is to play briefly, with good technique and breaks, and save high notes for when your breath and embouchure are ready.
In short
- The sound comes from buzzing the lips; practice this first without the instrument, then on the mouthpiece.
- Keep the mouth corners firm, the center of the lips relaxed and the cheeks unpuffed.
- Use only the mouthpiece pressure you need: high notes come from air and embouchure, not pressing harder.
- Rest as much as you play: short sessions with breaks build endurance without hurting your lips.
- You can play with braces, but you need to reduce pressure and discuss it with your teacher and orthodontist.
How to form your embouchure, step by step
- Bring your lips together as if saying “mmm,” without squeezing them or tucking them between your teeth.
- Firm up the corners without stretching them sideways or pursing them forward: keep them still, as if anchored. They provide support while the center of your lips stays relaxed enough to vibrate.
- Without a mouthpiece, blow a stream of air through the center until your lips buzz. That vibration is called buzzing.
- Center the mouthpiece, with a lip ratio that varies by method and person: some teachers suggest covering a little more of the lower lip, while others recommend almost half and half. It depends on your teeth and lips; your teacher will adjust the placement.
- Apply just enough mouthpiece pressure to stop air from leaking and buzz again: the mouthpiece now amplifies the sound.
- Only then put the mouthpiece in the trumpet and play a comfortable note with no valves pressed, such as low C on the ledger line or G on the second line.
There is no single embouchure that works for everyone. The shape of your teeth, the thickness of your lips, and your jaw affect the ideal placement, so copying a photo of a famous trumpet player won't help. What almost all methods aim for: a relaxed center, cheeks that aren't puffed out, and little pressure; most also call for firm corners of the mouth.
Buzzing: lips, mouthpiece and trumpet
| Stage | What you do | What it's for |
|---|---|---|
| Lips alone | Buzz sustained notes and small sirens without a mouthpiece | Strengthens the embouchure and makes you use air rather than pressure |
| Mouthpiece alone | Buzz long notes, sirens and simple melodies | Develops your ear and an even vibration in the center of your lips |
| Trumpet | Play the same notes and melodies on the instrument | Transfers the buzz you have developed to the trumpet |
- Mouthpiece sirens: glide your buzz from low to high and back without breaks. If it breaks at any point, that is the area to work on.
- Matching notes: play a note on a piano or app, then buzz it on the mouthpiece until the pitches match.
- Simple melodies: buzzing a children's song or a five-note scale on the mouthpiece quickly shows whether your ear is guiding your lips.
Two or three minutes of buzzing a day is enough. More is not better: buzzing without the instrument's resistance tires the lips quickly.
Pressure: the mistake that holds you back most
Pressing the mouthpiece against your lips works for a few minutes, especially for reaching high notes, which makes it tempting. The problem is that compressed lips vibrate less freely and tire much sooner: the sound becomes thin, notes stop responding and your mouth is still tired the next day.
The minimum-pressure test
- Play a comfortable note and hold it.
- While the note sounds, gradually reduce mouthpiece pressure until air starts to leak.
- Restore only enough pressure to bring the sound back. That is the pressure to use when playing.
- Hold the trumpet with your left hand without pulling it toward your face.
- Keep your right pinky out of the finger hook on the tubing: using it can lead you to pull the trumpet against your lips. That hook lets you turn pages or insert a mute with one hand.
- A slight mouthpiece mark after playing is normal; a deep mark that lasts a long time means you are pressing too hard.
A 10-minute warm-up
| Minutes | Exercise | How to do it |
|---|---|---|
| 1 | Breathing | Low breaths and long exhalations without the trumpet |
| 2 | Buzzing | Lips alone, then mouthpiece: long notes and gentle sirens |
| 3 | Long tones | From second-line G downward in half steps, gently and without pressing |
| 2 | Lip slurs | Change notes without moving the valves, using only air |
| 2 | Scale: | A one-octave C major scale, slowly and with a metronome |
| Piston valves | Notes |
|---|---|
| Open | C – G – C |
| 2 | B – F♯ – B |
| 1 | B♭ – F – B♭ |
| 1 y 2 | A – E – A |
| 2 y 3 | A♭ – E♭ – A♭ |
| 1 y 3 | G – D – G |
| 1, 2 y 3 | F♯ – C♯ – F♯ |
At first, play only the first two notes of each row and add the third when you can reach it without pressing harder. These are written pitches: a B flat trumpet sounds a whole step lower, so your written C appears as B♭ on a tuner. Save high notes for the end of practice, never the beginning.
Endurance: short, focused playing with breaks
Endurance develops as it does in any small muscle: through regular work and rest. Brass teachers often recommend resting as much as you play: if you play for one minute, rest for another. At first, several short blocks throughout the day are more effective than one long session.
Signs that it is time to stop:
- The sound becomes thin, airy or breaks up.
- Notes that responded well at the start no longer speak.
- Your lips feel swollen or numb.
- You start pressing the mouthpiece harder to compensate.
At the end, a few soft low notes and a relaxed lip trill, like a horse's snort, help release your embouchure. If your lips are still very tired the next day, the previous session was too long or used too much pressure. To work on breath separately, see breathing for wind instruments.
Braces and how trombone differs
You can play trumpet with braces, but your embouchure changes: your lips rest against the metal, which feels uncomfortable at first. Reduce pressure even further, use the guards or wax your orthodontist recommends and tell your teacher you have started treatment. A similar adjustment happens when the braces come off: allow a few weeks to readjust. Discuss any persistent discomfort with your orthodontist.
The same principles apply to trombone (firm corners, relaxed center, light pressure), but its mouthpiece is larger and the buzz lower and broader, so a larger area of the lips vibrates. In trombone lessons, you build your embouchure through the same approach: buzzing, long tones and slurs.
Common embouchure mistakes
| Error | How it shows up | Correction |
|---|---|---|
| Puffing your cheeks | Unfocused sound and little control | Keep the corners firm; practice in front of a mirror |
| Stretching your lips into a smile | Thin sound and high notes that will not speak | Firm corners without stretching them sideways |
| Moving the mouthpiece for each note | The tone color changes from note to note and lacks stability | Keep one placement; use air and lips to change notes |
| Starting with high notes | Lips tire within a few minutes | Warm up in the middle and low registers |
| Always playing loudly | Harsh sound and little endurance | Long tones at piano and mezzo-forte |
| Starting notes with your throat | Notes that start with a harsh attack | Start each note with your tongue, as if saying “too” |
Embouchure is easier to see and hear from the outside. In trumpet lessons, your teacher checks it at every session during the first few months, while your habits are taking shape.
Frequently asked questions
Which mouthpiece should I use when starting trumpet?
The mouthpiece that comes with a student trumpet, often a 7C or similar, usually works well at first. Switching to a smaller one to reach high notes sooner is a common mistake; we explain why in how to choose your first trumpet.
How much should a beginner play each day?
It depends on age and endurance, but short sessions spread throughout the day with frequent breaks are enough at first. It is better to stop while your lips still feel fresh than to finish exhausted; your teacher will gradually extend your playing time.
Why can the same valve combination produce different notes?
Each valve combination produces several notes, and which one sounds depends on air speed and lip tension. This is the basis of lip slurs and the reason embouchure matters so much for brass instruments.
How can I practice without disturbing the neighbors?
A practice mute greatly reduces the volume, and buzzing on the mouthpiece alone is much quieter than playing the trumpet. Use them as supplements: you also need to practice with the resistance of the unmuted instrument.
Sources
We checked the facts in this article against these sources on October 22, 2026.